
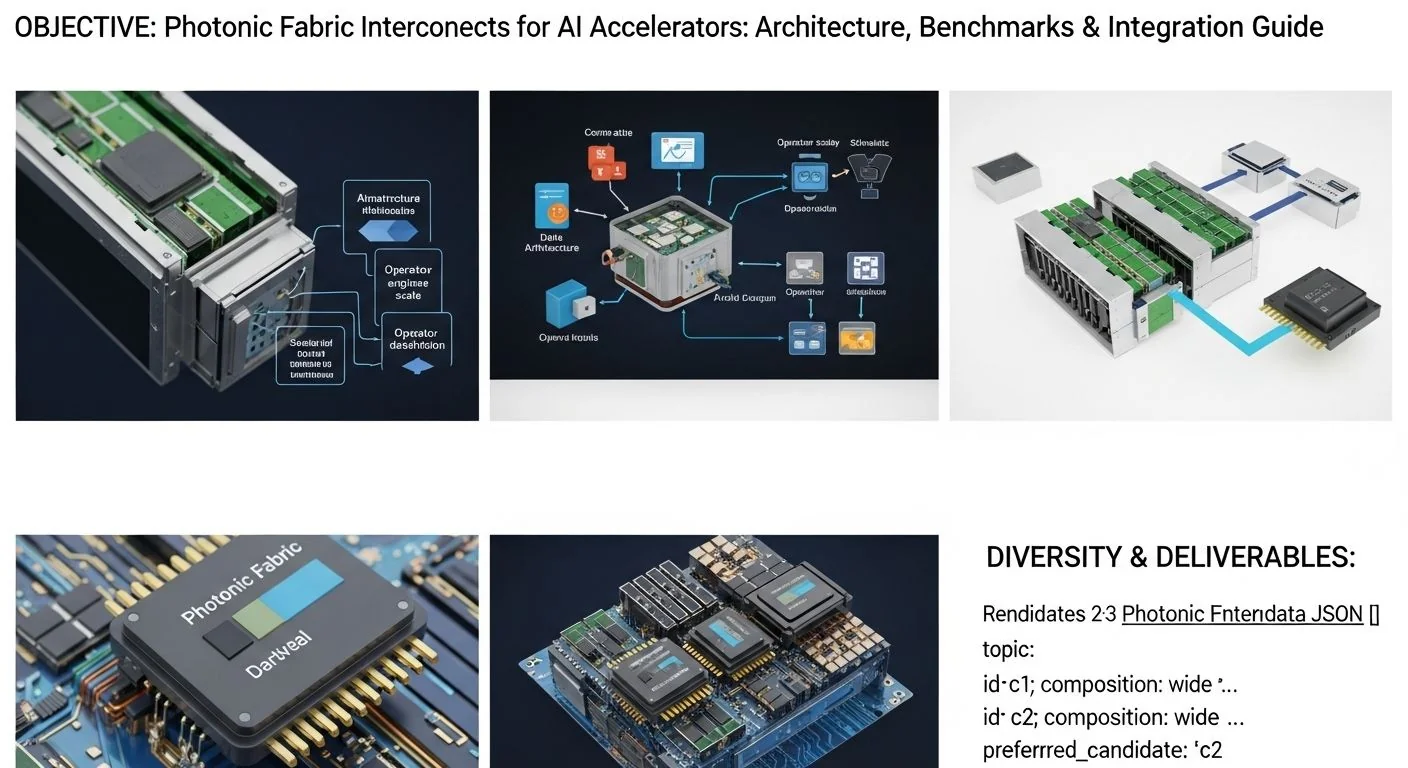
Photonic Fabric AI: Architecture, Benchmarks & Integration Guide
Introduction
Problem statement: Data-center AI accelerators are hitting a connectivity wall — electrical interconnects no longer scale bandwidth, latency, or energy efficiently as model size and multi‑accelerator shells grow.
What this article delivers: a pragmatic, engineering‑first guide to designing, benchmarking and integrating photonic fabric interconnects for AI accelerators, with an actionable co‑packaged optics (CPO) integration checklist, measurable KPIs and failure diagnostics you can use in production.
Failure scenario (realistic): A training pod of 32 accelerators (NVLink 5.0 scaling guide) experiences degraded AllReduce efficiency as you add accelerators — bandwidth stalls, tail latencies spike (p95/p99), and power increases nonlinearly. The root cause is link serialization bottlenecks and retimer-induced jitter on the electrical fabric; adding more expensive SerDes increases power consumption by 20–40% per added spine port. Photonic fabric AI options can remove the bottleneck but demand new integration checks (thermal tuning, BER monitoring, packaging yield) that often catch teams unprepared.
Executive Summary
TL;DR: Replacing long-reach and switch‑level electrical hops with a co‑packaged photonic fabric cuts interconnect energy per bit by roughly 3–10× for multi‑rack AI clusters, reduces serialization-dominated latency per hop, and enables sustainable bisection bandwidth growth — provided you adopt a careful CPO integration and telemetry strategy.
- Photonic fabric AI reduces energy per bit by an estimated 0.5–3 pJ/bit (photonic link) vs 5–25 pJ/bit for equivalent electrical chip‑to‑chip/board SerDes, depending on the topology and link length.
- Latency per hop is dominated by serialization/deserialization and buffering; photonic fabrics move the bottleneck toward switching and routing logic while reducing propagation and transceiver retiming overhead.
- Adopt a staged deployment: lab validation with BER and optical power margins → integration with RDMA/DPDK stacks → staged cluster rollouts with telemetry and runbooks for optical failure modes.
- Essential KPIs: sustained allreduce throughput, p95/p99 latency under real AI gradient exchange, per‑link BER, link optical power margin, and interconnect energy per epoch.
- Co‑packaged optics (CPO) requires new mechanical, thermal and reliability checks. Use the provided integration checklist before production rollouts.
Q→A (short answers for direct extraction)
- Q: How do photonic fabrics reduce power for AI accelerator scaling? A: By removing high‑power electrical SerDes across long paths, leveraging low‑energy modulators and photodetectors, and enabling wavelength-division multiplexing to increase aggregate bandwidth per laser source, reducing energy/bit by multiple×.
- Q: What is typical photonic interconnect latency per hop vs electrical? A: Photonic propagation is ~5 ns/m in fiber; total per‑hop latency (including serialization/retiming) typically falls to tens of ns with CPO compared to 40–200+ ns for multi‑retimer electrical hops, depending on SerDes and switch pipeline depth.
- Q: Is CPO production ready for hyperscale AI today? A: CPO is production‑ready at the board and line‑card level in constrained topologies; full‑scale pod and rack integration requires mature thermal management, optics telemetry, and supply chain validation — expect staged adoption in 2024–2027 for general AI pods.
How Photonic Fabric Interconnects for AI Accelerators: Architecture, Benchmarks & Integration Guide Works Under the Hood
At a systems level, a photonic fabric for AI accelerators replaces the electrical SerDes/spine links used for accelerator-to-accelerator and accelerator-to-switch connectivity with optical transmit/receive elements. These can be realized as:
- Co‑packaged optics (CPO): photonics integrated inside the switch or accelerator package for shortest electrical path and lowest power per bit.
- Multi‑chip modules (MCM) or pluggable optics for board level with reduced electrical trace length.
- Hybrid photonic topologies that use electrical switching for short hops and photonic spine for high‑bisection long hops.
Core components and responsibilities:
- Lasers (shared or per‑lane), modulators, wavelength multiplexers (WDM) — create optical channels.
- Photodetectors, TIAs, and retiming logic — recover the signal on receive.
- Optical switches or wavelength‑selective routing for dynamic topologies.
- Control plane: link negotiation, BER counters, optical power telemetry, and link reconfiguration APIs (RDMA/DPDK/Switch SDK integration).
Protocol considerations: Photonic fabrics commonly transport standard electrical protocols (PCIe/CXL lanes, Ethernet, RDMA over Converged Ethernet) by using optical PHYs that replace or sit beside electrical SerDes (see CXL 4.0 inference latency benchmarks). For accelerator fabrics, low‑level RDMA and collective operation offload is frequently retained; the photonics substitute reduces serialization energy and long trace RTD.
Diagram (textual):
Node A ASIC → short electrical trace (mm) → CPO module (modulators + WDM) → optical inter‑rack spine (fiber/WDM) → leaf CPO → local ASIC retimer → Node B. Control-plane telemetry feeds northbound management for per‑link BER and optical power margin.
Implementation: Production Patterns
This section gives a recommended staging plan and practical code/measurement examples. Start small and instrument everything.
Deployment stages
- Lab validation: validate optical link BER at target data rates (e.g., 51.2 Tb/s aggregate per switch line‑card target), measure optical power margin, and run synthetic AllReduce/Store/Load patterns. Verify laser current and microheater tuning ranges.
- Integration with NIC/SDK: ensure the switch SDK or NIC driver reports optical telemetry and exposes reconfiguration APIs for link down‑gating and lane remapping.
- Pilot cluster: deploy a small pod (e.g., 4–8 nodes) under production load to collect p95/p99 metrics and validate runbooks for link degradations.
- Production rollout: phased addition of racks with automated telemetry thresholds and optical spare capacity.
Actionable checklist — basic to advanced
- Basic: validate link BER < 1e‑12 at target line rate, confirm optical power margin ≥ 5 dB, ensure laser current monitoring is live.
- Advanced: enable per‑wavelength BER counters, integrate telemetry into Prometheus/Grafana, and enable dynamic wavelength routing for congestion mitigation.
- Error handling: automated lane failover, laser safety interlocks, and thermal throttling action for heaters/modulators.
- Optimization: enable WDM to consolidate wavelengths, tune modulator drive voltages to optimum OMA (optical modulation amplitude), and pipeline protocol stack to overlap serialization and compute.
CPO integration checklist (practical)
- Mechanical: verify socket and board mechanical tolerances for thermal expansion; secure fiber strain relief and routing.
- Thermal: measure junction and microheater temps, ensure switch cooling budget accounts for laser and driver heat (spec target: keep photonic junction ΔT < 30°C under load).
- Electrical: minimize electrical trace length between ASIC SerDes and modulator drivers — keep < 5 mm where feasible to avoid board‑level retiming.
- Optical power: characterize Tx output and Rx sensitivity; specify spare power margin of ≥ 3–6 dB for SNR headroom.
- Control plane: ensure SDK exposes per‑lane BER, Rx power, Tx bias current, and temperature as telemetry metrics.
- Manufacturing & QA: FAT test flows for tuning microheater setpoints, laser aging burn‑in, and deterministic worst‑case thermal tests.
Code examples
The following example illustrates a small Python probe to measure round-trip latency and throughput of an RDMA-like link. In production you will attach hardware counters and optical telemetry; this script is a scaffold for measurement logic.
#!/usr/bin/env python3
# Minimal latency/throughput probe (pseudo-code scaffold)
import time
import socket

PAYLOAD = b"x" * 1024  # 1KB
ITER = 10000

def tcp_ping(host, port=5000):
    s = socket.socket(socket.AF_INET, socket.SOCK_STREAM)
    s.connect((host, port))
    latencies = []
    for i in range(ITER):
        t0 = time.time()
        s.sendall(PAYLOAD)
        data = s.recv(len(PAYLOAD))
        t1 = time.time()
        latencies.append((t1 - t0) * 1e6)  # us
    s.close()
    latencies.sort()
    p50 = latencies[len(latencies)//2]
    p95 = latencies[int(len(latencies)*0.95)]
    p99 = latencies[int(len(latencies)*0.99)]
    print(f"p50={p50:.1f}us p95={p95:.1f}us p99={p99:.1f}us")

if __name__ == '__main__':
    tcp_ping('10.0.0.2')
Instrumentation tip: augment this probe with optical telemetry pulls (Tx bias, Rx power, BER counters) and correlate with latency tails before concluding root causes.
Comparisons & Decision Framework
When choosing between electrical and photonic options, use a decision checklist that weighs the following dimensions:
- Scale: Number of accelerators and rack spans (photonic favored for multi‑rack and pod‑scale bisection).
- Power budget: If interconnect energy is a first‑order constraint, photonics typically wins beyond ~10–20 Tb/s aggregate per switch.
- Latency sensitivity: For tight p99 latency SLAs, photonics reduce propagation and retimer latencies but require careful switch pipeline optimization.
- Operational complexity: Photonics adds new failure modes — optical alignment, laser aging — and needs tooling and telemetry investments.
Quick comparison (high level)
- Electrical: mature, lower operational surprises at small scale, cost‑efficient for intra‑board and short‑reach links, higher energy per bit for long spans.
- Photonic (CPO): better energy and bandwidth scaling across racks, reduced serialization energy, higher upfront integration and tooling costs.
Checklist for choosing photonic fabric AI
- Do you need >10 Tb/s per rack bisection consistently? If yes, photonics likely reduces OPEX energy costs.
- Are your SLA tail latencies dominated by SERDES and retimers? If yes, run a lab CPO test to measure p95/p99 improvements.
- Is your supply chain stabilized for optics modules and lasers? If no, plan for staged procurement and redundancy.
- Can your NOC and monitoring teams ingest optical telemetry? If no, budget for SDK and monitoring integration work.
Failure Modes & Edge Cases
Photonic fabrics introduce several concrete failure modes. Below are diagnostics and mitigations in order of probability and operational impact.
1. Optical power degradation (common)
- Symptoms: rising BER, retransmits, increasing p95 latency.
- Diagnostics: check per‑lane Rx power, Tx bias current, and OSNR if available; correlate with thermal sensors.
- Mitigation: re‑tune microheater setpoints, enable lane remapping, increase laser bias within safe limits, replace aged laser modules.
2. Thermal drift and microheater runaway
- Symptoms: link flaps correlated with load; slow drifts in BER.
- Diagnostics: temperature logs, heater current telemetry, and junction temperature vs time profiles.
- Mitigation: install per‑module thermal control loops, add passive heat sinking, or reduce microheater duty cycles during low load windows.
3. Wavelength misalignment in WDM
- Symptoms: sudden BER increase on affected wavelengths while others remain fine.
- Diagnostics: per‑wavelength BER and optical spectrum monitoring during lab tests.
- Mitigation: auto‑tune wavelength locks, fallback to fewer wavelengths while retaining capacity, repair faulty mux/demux.
4. Laser aging and catastrophic failure
- Symptoms: persistent low Tx power, link down.
- Diagnostics: Tx bias current vs expected optical power curve; laser lifetime counters.
- Mitigation: schedule spare laser modules, rotate laser usage to even wear, and validate warranty RMA flows with suppliers.
Performance & Scaling
Benchmarks must be workload-driven. The following are recommended tests and expected ranges. Always report methodology: testbed topology, buffer sizes, driver versions, and thermal conditions.
Benchmarks to run
- Microbenchmarks: per‑link BER at line rate, per‑link throughput with synthetic streams, single‑hop latency (p50/p95/p99).
- Collective benchmarks: ring/allreduce for varying message sizes (32KB, 512KB, 8MB) and varying node counts (4, 8, 16, 32).
- End‑to‑end training runs: measure epoch time and energy per epoch on a real model (e.g., 175B parameter model sharded across the pod) and compare baseline electrical fabric vs photonic fabric.
KPIs & target ranges (example guidance)
- Energy per bit (interconnect): photonic ≈ 0.5–3 pJ/bit; electrical long‑reach ≈ 5–25 pJ/bit (depends on SerDes generation and retimers).
- Latency per hop (breakdown): propagation ~5 ns/m in fiber; serialization/SerDes ~5–50 ns depending on lane rate; switch pipeline ~20–200 ns. Photonic CPO typically reduces serialization overhead and can cut total hop latency to tens of ns in optimized designs vs 40–200+ ns for electrical multi‑retimer hops.
- BER targets: production thresholds commonly < 1e‑15 for long‑running RDMA fabrics; initial acceptance commonly < 1e‑12 in lab burn‑in.
- p95/p99 latency: for synchronous collective ops, aim to keep p95 within <1.5× median and p99 within <2.5× median under load. Use instrumentation to detect correlated link degradations causing tail amplification.
Note: the energy and latency ranges above are dependent on implementation and vendor parts. Always validate against measured telemetry rather than vendor nominal claims.
Production Best Practices
- Operationalize optical telemetry: export Tx/Rx power, BER counters, laser bias, and temperature into your monitoring stack. Create threshold alerts for pre‑failure indicators (e.g., Rx power drop > 2 dB).
- Security: protect control plane APIs that can reconfigure wavelengths or power levels; treat optical control as infrastructure-critical and limit access to privileged automation only.
- Testing: add optics into CI for new switch firmware/drivers: run periodic BER tests and collective stress tests under thermal cycles.
- Rollout: use canary clusters and automated rollback; have physically accessible spare modules for hot‑swap when possible.
- Runbooks: document steps to gather BER history, thermal logs, and to perform lane remap and laser bias adjustments. Include expected safe bounds and emergency contact with optics vendor support.
Further Reading & References
Authoritative sources (selection):
- J. Shalf et al., "Trends in Photonic Interconnects for High‑Performance Computing," Nature Photonics / IEEE review articles (search recent reviews for 2019–2024).
- Industry CTO papers on CPO: vendor whitepapers (switch vendors and hyperscalers) describing co‑packaged optics roadmaps and thermal requirements.
- RDMA over Converged Ethernet and switch SDK documentation for integrating optical PHYs (see vendor SDKs for per‑lane optical telemetry APIs).
Related internal articles that provide complementary architecture context:
For high‑bandwidth fabric design patterns, see our UALink 1.0 deep dive on ultra‑high bandwidth AI fabrics, which discusses fabric topologies and RDMA tradeoffs relevant when selecting photonic spines.
When pooling memory across an AI pod, you should align photonic fabric design with memory fabric choices — see our CXL 3.1 guide to fabric‑attached memory for integration patterns and latency tradeoffs. See also our CXL 3.2 pooled memory guide.
Authoritative notes & practical closing
Photonic fabric AI is a systems‑level optimization: gains in energy and bandwidth are compelling, but only when integrated with driver stacks, SDK telemetry and a rigorous operational plan. Teams that prepare for optical failure modes, instrument per‑lane telemetry and measure p95/p99 under production gradients will realize the benefits without the most common pitfalls.
If you are designing a pod today, run a staged validation: a lab burn‑in with optical BER and thermal cycling, a pilot with full telemetry ingestion, and a production rollout with canary nodes and spare optical capacity. The transition to photonics is as much about people, processes and tooling as it is about technology — invest in the monitoring and runbook work early and you get predictable scaling and lower energy per training epoch. For production implementation examples, see Arm CCA Confidential AI: Production Implementation Guide.
Further Reading & References (detailed)
- Nature Photonics reviews on optical interconnects (2019–2023 series)
- Industry whitepapers on co‑packaged optics (vendor documentation)
- RDMA and DPDK integration guides (vendor SDKs)


